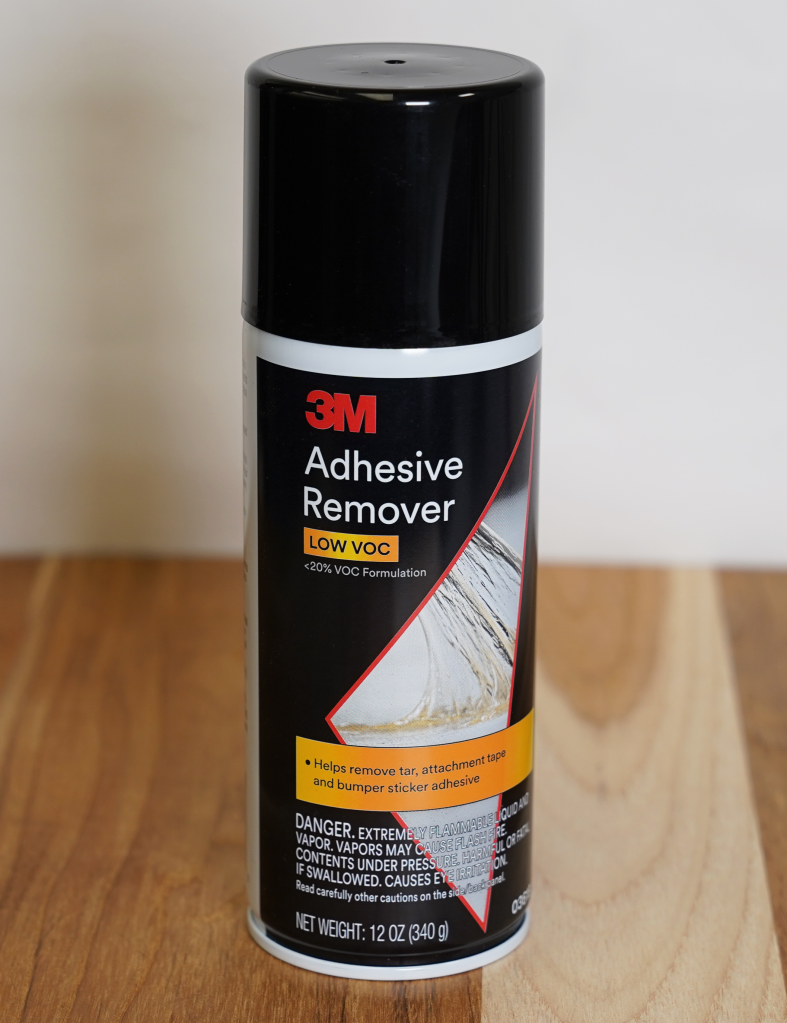
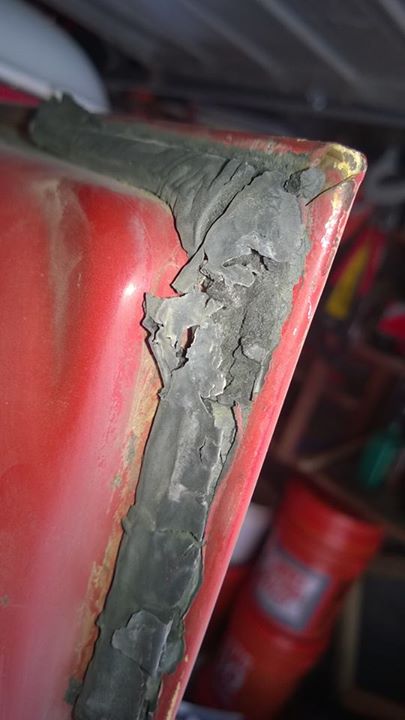
To remove weatherstrip adhesive, apply adhesive remover, let it sit, then scrape off residue. Removing weatherstrip adhesive can be a challenging task, but with the right tools and techniques, you can effectively clean the surface.
Whether you are replacing the weatherstripping or just cleaning the area, knowing how to remove the adhesive properly is crucial. In this blog post, we will discuss step-by-step instructions on how to remove weatherstrip adhesive safely and efficiently. By following these guidelines, you can ensure a smooth and successful adhesive removal process, leaving your surfaces clean and ready for the next steps in your project.

Introduction To Weatherstrip Adhesive Removal
The process of removing weatherstrip adhesive can be a challenging task. It is essential to perform this task correctly to avoid any damage to the surface where the adhesive was applied. Proper removal of weatherstrip adhesive can ensure that the new adhesive will adhere better, and the weatherstripping will function correctly.
The importance of proper removal lies in the fact that if the adhesive is not removed correctly, it can leave behind a residue that can attract dirt and debris, making it difficult for the new adhesive to stick. Additionally, if the surface is not clean, the weatherstripping may not adhere correctly, resulting in leaks, drafts, and other issues.
| Common Challenges |
|---|
| Adhesive residue can be difficult to remove |
| The surface may be delicate and easily damaged |
| The weatherstrip may be difficult to access |

Tools And Materials Needed
When removing weatherstrip adhesive, it’s important to have the right tools and materials on hand. Essential tools for the job include a heat gun or hairdryer, plastic scraper or putty knife, adhesive remover, gloves, and safety goggles. Selecting the right solvents is crucial, as some may damage the surface or paint. It’s best to test a small, inconspicuous area first to ensure compatibility. Once the adhesive is softened, gently scrape it off using the plastic scraper or putty knife. Take care not to damage the surface underneath. After removing the adhesive, clean the area with a mild detergent and water to remove any remaining residue. Always follow safety precautions and use protective equipment when working with adhesive removers.
Prepping The Surface
When removing weatherstrip adhesive, it’s crucial to prep the surface properly. Start by cleaning the area thoroughly to ensure a smooth application of the adhesive remover. Use a mild detergent and water to remove any dirt or debris, and allow the surface to dry completely before proceeding. Additionally, it’s important to take safety measures before starting. Wear protective gloves and eyewear to shield yourself from any potential splashes or fumes. By taking these precautions, you can effectively remove weatherstrip adhesive while prioritizing safety and cleanliness.
Step-by-step Removal Process
To remove weatherstrip adhesive, follow these steps:
- Start by loosening the adhesive. Apply heat using a hairdryer or heat gun, keeping it a few inches away from the adhesive. Be careful not to overheat the weatherstrip.
- Once the adhesive is softened, use a plastic scraper or old credit card to gently peel off the weatherstrip. Start from one end and work your way across, taking your time to avoid damaging the surface.
- If the adhesive proves stubborn, you can apply a solvent like rubbing alcohol or adhesive remover. Dampen a cloth with the solvent and gently rub the adhesive until it loosens.
- After removing the weatherstrip, clean any remaining adhesive residue using the solvent or a mixture of warm soapy water. Scrub gently with a soft cloth or sponge.
- Once the surface is clean, rinse with water and dry thoroughly. You can also use a mild cleaner or automotive wax to restore the shine if needed.
Applying Solvent
When removing weatherstrip adhesive, it is important to apply the solvent carefully. Use a solvent that is effective in breaking down the adhesive. Allow the solvent ample time to penetrate the adhesive, as this will make the removal process easier. Patience is key when waiting for the solvent to do its job. It is essential to give the solvent enough time to work its magic.

Scraping Off The Residue
When removing weatherstrip adhesive, gentle scraping techniques are essential to prevent surface damage. Start by using a plastic scraper to softly lift the residue. Apply a gentle solvent if needed and scrape slowly to avoid any scratches. Avoid using sharp tools that can harm the surface. Be patient and continue scraping until all residue is removed. Take care to protect the surrounding area from any accidental damage. Clean the surface thoroughly after removing the adhesive to ensure a smooth finish.
Final Cleaning And Preparation
To remove weatherstrip adhesive during the final cleaning and preparation, start by applying a commercial adhesive remover, then gently scrape off the adhesive using a plastic putty knife. Afterwards, clean the area with a degreaser to ensure a smooth and adhesive-free surface.
| Final Cleaning and Preparation |
| When removing weatherstrip adhesive, wiping the surface clean is essential. |
| Ensure the surface is free of any dirt, grease, or old adhesive residue. |
| Use a clean cloth dampened with appropriate solvent to wipe the area. |
| Proper cleaning is crucial for ensuring a secure weatherstrip adhesion. |
Tips For Effective Adhesive Removal
Removing weatherstrip adhesive can be a daunting task, but with these effective tips, you can make the process easier. Use a gentle adhesive remover and a plastic scraper to avoid damaging the surface. Take your time and be patient to ensure a clean removal without any residue.
|
Troubleshooting Common Issues
When removing weatherstrip adhesive, it’s common to encounter leftover residue. To effectively deal with this, start by using solvent-based adhesive removers. Apply the remover to the residue and let it sit for a few minutes. Then, use a plastic scraper to gently lift off the residue. For stubborn residue, consider using a rubbing alcohol solution. Once the residue is removed, inspect the surface for any damage. Repair any scratches or marks using appropriate methods, such as sanding or repainting.
Frequently Asked Questions
How Do I Remove Weatherstrip Adhesive Residue?
The best way to remove weatherstrip adhesive residue is to use a mixture of hot water and dish soap. Apply the mixture to the affected area and let it sit for a few minutes. Then, use a plastic scraper to remove the residue.
Can I Use Rubbing Alcohol To Remove Weatherstrip Adhesive?
Yes, rubbing alcohol is an effective method to remove weatherstrip adhesive. Soak a cotton ball in rubbing alcohol and apply it to the adhesive residue. Let it sit for a few minutes and then gently rub the residue with a clean cloth.
What Household Items Can I Use To Remove Weatherstrip Adhesive?
There are several household items that can be used to remove weatherstrip adhesive, including vinegar, baking soda, and peanut butter. Apply any of these substances to the affected area and let it sit for a few minutes before wiping it away with a clean cloth.
How Do I Remove Weatherstrip Adhesive From Car Paint?
To remove weatherstrip adhesive from car paint, use a mixture of warm water and dish soap. Apply the mixture to the affected area and let it sit for a few minutes. Then, use a plastic scraper or a soft-bristled brush to remove the residue.
Be gentle to avoid damaging the car’s paint.
Conclusion
Removing weatherstrip adhesive can be a challenging task, but with the right techniques and tools, it can be done effectively. By following the steps outlined in this blog post, you can safely remove the adhesive without causing damage to the surface.
Remember to use heat and adhesive removers, and take your time to ensure a thorough removal. With these tips, you’ll be able to remove weatherstrip adhesive like a pro!

