
To glue shower walls, use a waterproof adhesive specifically designed for wet areas. Apply the adhesive evenly.
When gluing shower walls, ensure a secure and tight bond for long-lasting results. Properly follow manufacturer instructions for best outcomes. Remember to allow sufficient time for the adhesive to cure before using the shower.
Introduction To Gluing Shower Walls
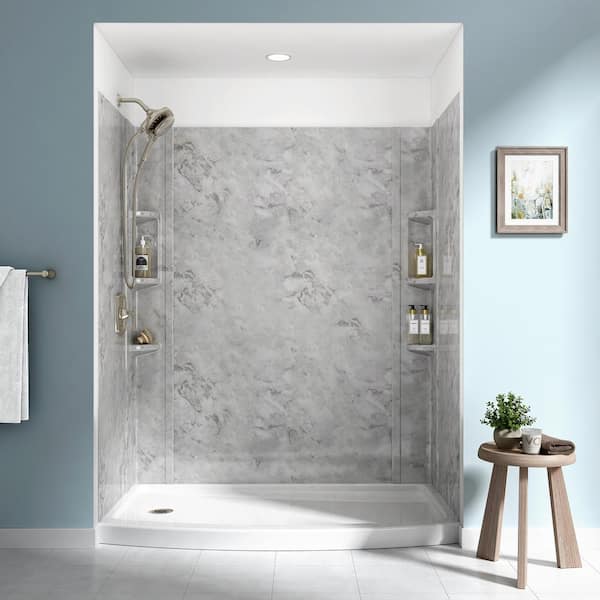
Gluing shower walls is a convenient and cost-effective way to renovate your bathroom. With the right adhesive, the process can be simple and stress-free. Choosing glue over traditional methods such as screws and nails offers a cleaner, more seamless finish.
When it comes to selecting an adhesive for your shower walls, there are a few options to consider. The most common types of adhesive for shower walls are silicone-based, epoxy-based, and polyurethane-based.
| Type of Adhesive | Features |
|---|---|
| Silicone-Based | Flexible, waterproof, and resistant to mold and mildew |
| Epoxy-Based | Durable, waterproof, and resistant to chemicals and heat |
| Polyurethane-Based | Strong, waterproof, and resistant to chemicals and impacts |
Each type of adhesive has its own unique features and benefits, so it’s important to choose the right one for your specific project and needs. By following the manufacturer’s instructions and using the appropriate tools, you can successfully glue your shower walls and achieve a beautiful, long-lasting result.

Preparation Steps
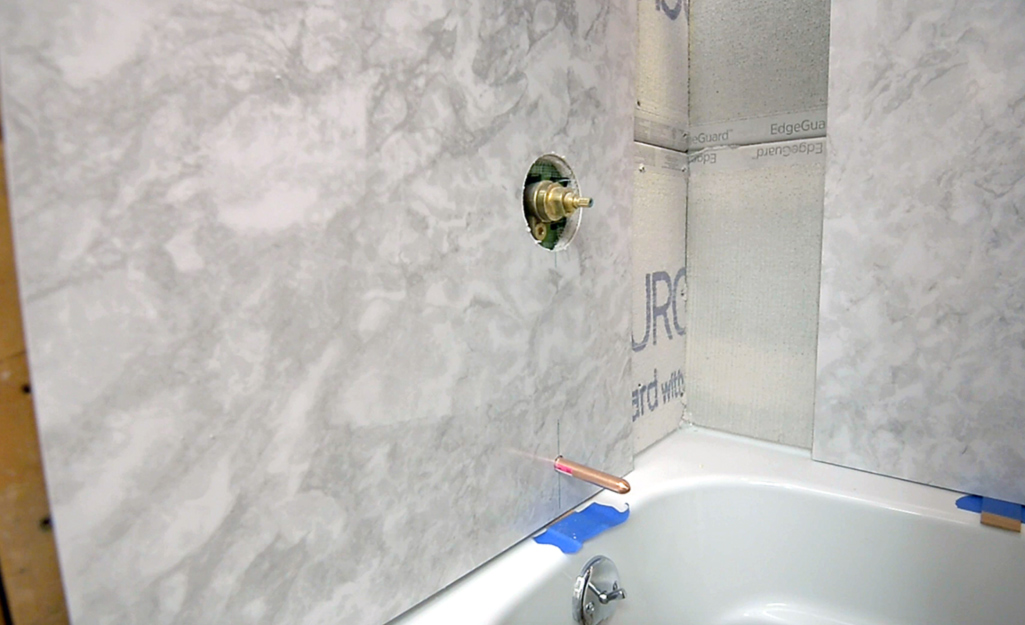
Before gluing shower walls, it’s essential to gather the tools and materials needed. These may include adhesive, caulk gun, utility knife, and silicone sealant. Additionally, surface preparation is crucial for optimal adhesion. Ensure the walls are clean, dry, and free of any debris or residues. Use a suitable cleaner and allow sufficient time for the walls to dry completely.
Choosing The Right Adhesive
When choosing an adhesive for shower walls, consider the pros and cons of silicone-based adhesives. While they offer waterproof properties and flexibility, they may not be suitable for all materials. Epoxy adhesives, on the other hand, provide strong bonding for heavier materials such as tiles and stone. They are resistant to chemicals and heat, making them ideal for high-temperature environments. Consider the application and the materials involved to determine the most suitable adhesive for your shower walls.
The Gluing Process
The gluing process for shower walls is a crucial step in ensuring a secure and long-lasting installation. Before applying the adhesive, it is important to thoroughly clean the surface of the walls to remove any dirt or debris. This will help the adhesive bond better with the walls.
Once the walls are clean, apply the adhesive evenly on the back of the shower panels using a notched trowel. Make sure to spread the adhesive in a consistent pattern to avoid any gaps or unevenness.
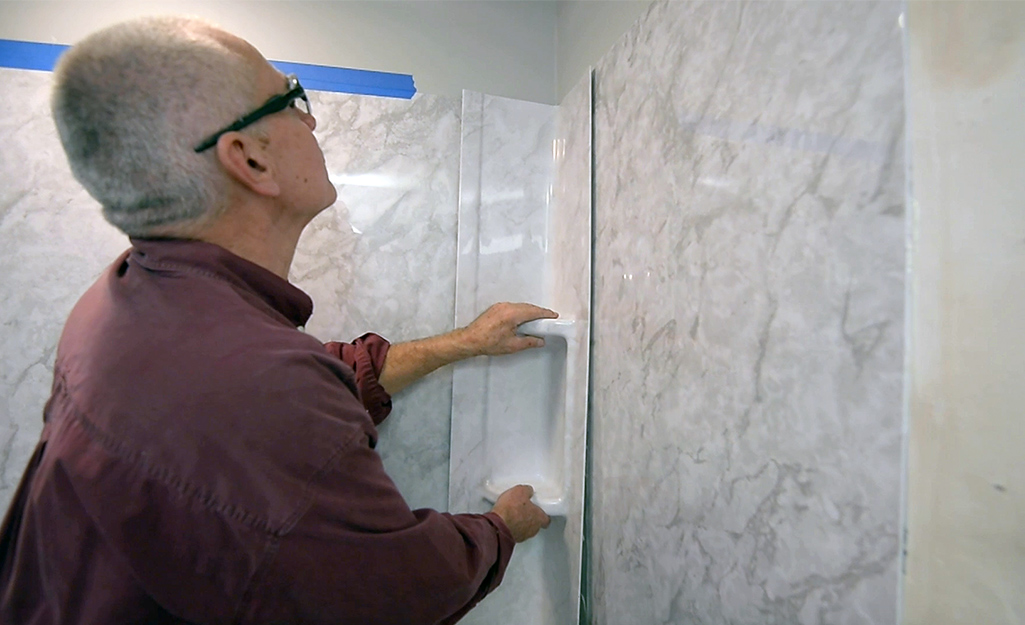
Next, carefully position the shower walls against the existing structure, starting from the bottom and working your way up. Press firmly on the panels to ensure a strong bond with the adhesive.
It is recommended to use temporary braces or supports to hold the walls in place while the adhesive sets. This will prevent any movement or slippage during the drying process.
Allow sufficient time for the adhesive to cure before applying any additional finishing touches or fixtures to the shower walls. Following these steps will help you achieve a properly glued shower wall installation.
Curing Time And Conditions
When gluing shower walls, it is crucial to allow sufficient time for the adhesive to cure before using the shower. The recommended timeframe can vary depending on factors such as the type of adhesive used and the temperature and humidity conditions in the bathroom.
How Long to Wait Before Using the Shower
It is essential to follow the manufacturer’s instructions regarding the curing time before exposing the glued shower walls to moisture. Typically, it is advisable to wait at least 24-48 hours before using the shower to ensure that the adhesive has fully cured and bonded with the walls.
The temperature and humidity levels in the bathroom can significantly impact the curing time of the adhesive. Higher temperatures and humidity levels can expedite the curing process, while lower levels can prolong it. It is important to maintain optimal conditions to facilitate the proper bonding of the shower walls.
Finishing Touches
Enhance your bathroom by mastering how to properly glue shower walls for a polished finish. Follow these simple steps for a seamless and long-lasting installation that elevates the look of your space.
| When gluing shower walls, ensure edges are sealed properly for waterproofing. |
| Clean any excess adhesive promptly to avoid visible residue. |
Troubleshooting Common Issues
To effectively glue shower walls, start by cleaning the surface thoroughly to remove any dirt or residue. Next, apply a high-quality adhesive evenly on the back of the panels, ensuring proper coverage. Press the panels firmly into place and use braces or supports to hold them until the adhesive sets.
| When the adhesive is not sticking, ensure the surface is clean and dry. |
| Apply the glue evenly and use a bonding primer if necessary. |
| Removing air bubbles is crucial for a smooth adhesion process. |
| Use a roller to press the material firmly against the wall. |
Maintenance And Care
Regular cleaning is essential to maintain shower walls. Use a mild cleaner and soft cloth to wipe down walls weekly. For stubborn stains, mix vinegar and water for a natural cleaning solution. Repair loose tiles promptly to prevent further damage. Invest in a high-quality waterproof adhesive for a long-lasting fix.
Frequently Asked Questions
How Do I Prepare The Shower Walls For Gluing?
To prepare the shower walls for gluing, start by cleaning the surface thoroughly using a mild detergent and water. Make sure to remove any dirt, grease, or soap scum. Next, sand the walls lightly to create a rough surface for better adhesion.
Finally, wipe down the walls with a clean, damp cloth to remove any dust or debris.
What Type Of Adhesive Should I Use For Gluing Shower Walls?
For gluing shower walls, it is recommended to use a waterproof construction adhesive or a specific shower wall adhesive. These adhesives are designed to withstand moisture and provide a strong bond. Always follow the manufacturer’s instructions and ensure the adhesive is suitable for your specific shower wall material.
How Do I Apply The Adhesive To The Shower Walls?
To apply adhesive to the shower walls, start by applying a thin, even layer of adhesive to the back of the wall panels using a caulking gun or adhesive spreader. Make sure to cover the entire surface of the panel.
Then, press the panel firmly against the wall, starting from one corner and working your way across. Use a level to ensure the panel is straight and adjust if necessary.
Can I Glue Shower Walls Over Existing Tiles?
Yes, you can glue shower walls over existing tiles. However, it is important to ensure that the existing tiles are clean, dry, and in good condition. Remove any loose or damaged tiles and repair any cracks or gaps. Additionally, consider using a primer or a bonding agent before applying the adhesive to ensure a strong bond between the tiles and the new shower walls.
Conclusion
Gluing shower walls can be a daunting task, but following these steps can make it a lot easier. Take time to prepare the surface, choose the right adhesive, and use the proper techniques for applying the adhesive. Remember to also allow the adhesive to dry completely before using the shower.
By following these tips, you can successfully glue shower walls and ensure they stay securely in place for years to come.